Keen to go beyond spectacular aerial photography or videography with your drone? Look no further! It’s time to develop a new skill and learn to drone map.
With the right equipment and some careful planning, creating a map of your local ecosystems is super easy. It allows you to see how the environment changes over time, can offer you a new creative outlet, and open up new business opportunities.
So if you’re looking to put your drone to work in a new way, let’s see how you can use it to create an accurate and useful drone map.
Table of contents
What equipment do I need?
Drone: Theoretically, any drone with a downward facing camera can be used to drone map. In practice, you get what you pay for… The drone must also have a GNSS (global navigation satellite system – commonly referred to as GPS) to tag every photo with its location.
- Ground control station (GCS): A GCS is a device used to control the drone remotely. It allows you to monitor the drone’s flight path and view the imagery captured in real-time. It may be a combination of a remote controller and a mobile device with a mapping app installed.
- Ground control points (GCPs): Depending on the accuracy required, you may need to distribute GCPs in your mapping area. You’ll also need a GPS (possibly an RTK-GPS) to accurately determine their location.
- Processing software: You will need mapping software to process the images and convert them into a map. GeoNadir can do this for you.
Batteries and chargers: To ensure that the drone stays in the air for as long as possible, you will need spare batteries and a charger to keep them charged.
- LiPo battery bags: Keep your batteries safe! These bags are designed to contain a fire if your battery explodes, though fingers crossed that doesn’t happen! I like to have two different colour bags – one for charged, and one for used.
- SD cards: These will hold all your data. Keep a good stock of these and change out between flights, just in case!
Protective gear: Consider a hard case to transport the drone and its accessories safely, as well as gloves and safety glasses to protect you while operating the drone.
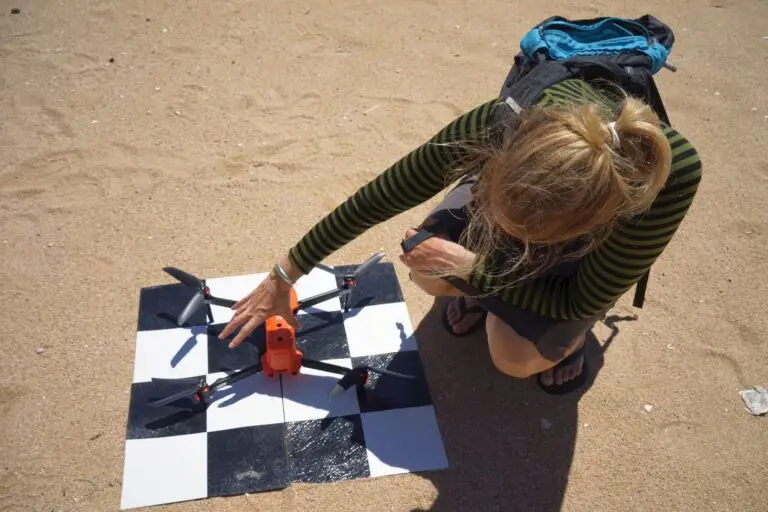
- Landing mat: To make sure your drone doesn’t get dirty or dusty.

Capturing data for a drone map
Make sure that your drone is compatible with a drone mapping app. These will make your life super easy! Great free examples are Autel Explorer (for Autels); DJI GS Pro (for DJI drones on iOS); and Pix4D capture (DJI and others on both iOS and android). A couple of key things to remember:
- Always plan an area larger than you actually need. The edges of a drone map are often distorted, so better to have this distortion in an area you don’t care about.
- Fly with 80% overlap and 80% sidelap, like a lawn mower in the sky. Yes, it’s a lot of redundancy, but ensures that your mapping software can stitch it all together.
- Choose a suitable flying height. Higher flights cover more area, lower flights give more detail. To help you decide which is best for you, read this blog.
- Make sure you have at least three parallel flight lines.
If you’d like to learn more about how to capture accurate drone mapping data, download our free ebook for more details.

Processing drone map data
Now that you’ve captured hundreds (or thousands!) of overlapping drone data, what next? You’ll need to use a specialised software that uses a technique called structure from motion photogrammetry to stitch the images together. Basically this means that the software looks for matching points in the areas of overlap between all of your photos. It then uses this information, along with the latitude, longitude, and altitude of each photo to make an orthomosaic, or drone map.
There are many different software options to process your data. Some software requires high-end desktop computing, while other options are in the cloud.
GeoNadir is an example of cloud software offering this service. All you need to do is drag and drop your drone mapping imagery into the browser and we do the rest!

Visualising and analysing your drone map
Now for the most exciting part! You have your drone map and you’re ready to go from images to information.
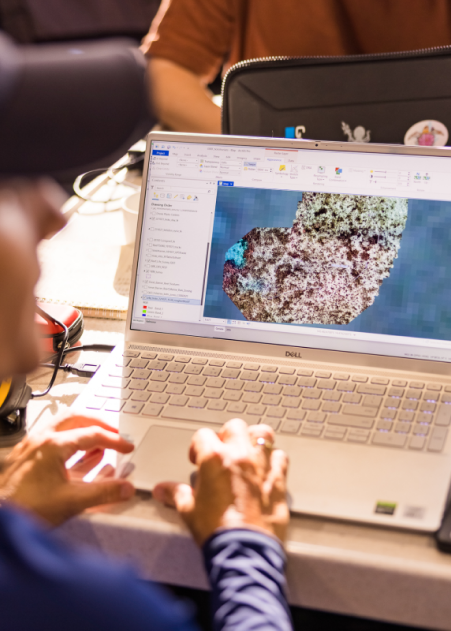
The simplest way to get started analysing your data is to view the orthomosaic in the software you used to create it. If you’ve used GeoNadir, you’ll receive an email when it’s ready to view and then you can jump right in. Check out the video below to learn how you can annotate your new drone map with your insights.
Sometimes it’s helpful to use a Geographic Information System (GIS) to integrate your orthomosaic with other spatial data. To do that, you’ll need to either download your processed data, or stream it directly into your software.
In this blog about mapping an isolated reef in the Caribbean we cover a number of different ways that you can incorporate your data into a GIS and compare with other datasets for further analysis.

Taking the step from flying drones to mapping with them may seem daunting at first. But it doesn’t need to be! As with learning any new skill, the trick is to start small. And then of course, the more you practice, the better you will get. The great news is that as long as you have a drone, you can get started with everything else from this blog for free! Get started with a GeoNadir account today!