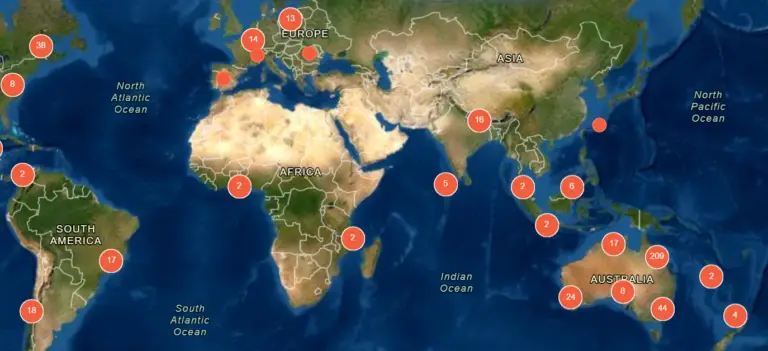
Here at GeoNadir, we want to create the biggest repository of free drone image datasets and drone mapping imagery from around the world. We want to make sure that all drone data is FAIR (Findable, Accessible, Interoperable and Reusable) so the treasure trove of knowledge stored in drone images can be used by people all over the world to solve some of our most pressing environmental problems. By uploading your dataset to GeoNadir, you’re making it accessible to everyone, but the extra information you add as part of the upload process affects how findable and reusable it is.
This article is our guide to what information you should include when you upload a dataset to GeoNadir so it can have the biggest impact. Don’t have the time to read the whole article? Use the table of contents below to jump to the relevant section.
What is a drone image dataset?
A dataset is a collection of images that are captured by a drone and organised together. On a platform like GeoNadir, these images can then be stitched together into an orthomosaic.
Making your dataset findable:
Search terms
Although you can find datasets on GeoNadir by moving around the map, the search function is your best bet for finding the collections most relevant to you. And because it’s your best bet for finding relevant collections, it’s also how most people will find your collections. So, you want to make sure when you upload, you’re putting relevant and useful information in the searchable terms for your collection.
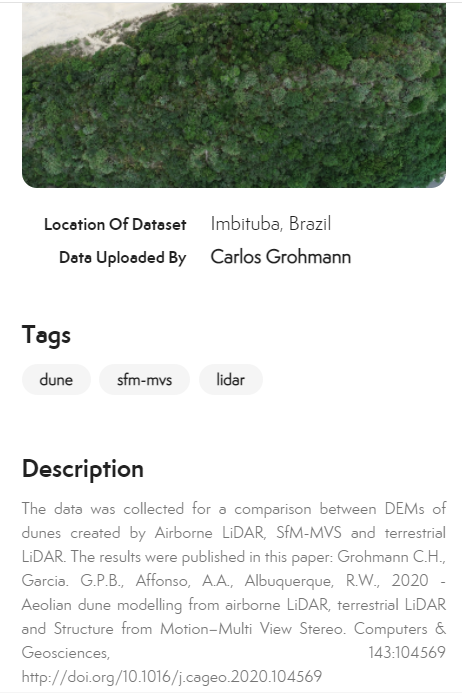
Title, location, tags and ‘data uploaded by’ are all searchable terms.
Looking for something specific?
What makes a good title?
Like with a book, blog, or research paper, the title of your dataset will help people decide if it’s relevant to them. A good title should include basic information about your collection, like the name of the place you mapped (e.g. Heron Reef), and the key feature or research question of the mapping mission (e.g. coral bleaching). An example of a bad title might be something like “Study Site 1”. Although you know what that means, it isn’t really helpful for anyone else who comes across it. Instead, you might name it “Coastal Erosion, Sunrise Beach 1”.

Autogenerated information: Location and Data Uploaded By
Both ‘Data Uploaded By’ and ‘Location’ are automatically generated when you upload a collection. ‘Data Uploaded by’ is based on your user profile and can’t be changed. Location is based on the GPS location of the first image of the collection you uploaded. Sometimes however, this automatically generated location isn’t the most accurate description of the location of the datatset. You can manually change the location of your dataset so it’s more accurate. If you do this, you should use the format of “Town, Country”.
What’s the point of tags?
Tags are where you add other useful details about your collection. Tags can be a good way to provide important context that might not be immediately obvious from the title or pictures. For example, you might add the tag ‘flood management’ if the dataset that you uploaded was used to support flood management strategies.
You can also use tags to group related datasets (e.g if all are part of one research project). That way, people can easily search and find the other datasets from the same project. If you search ‘sea cucumber’ on GeoNadir, you’ll find the many datasets that were uploaded as part of the sea cucumber data hunt since these were all tagged with ‘sea cucumber’.
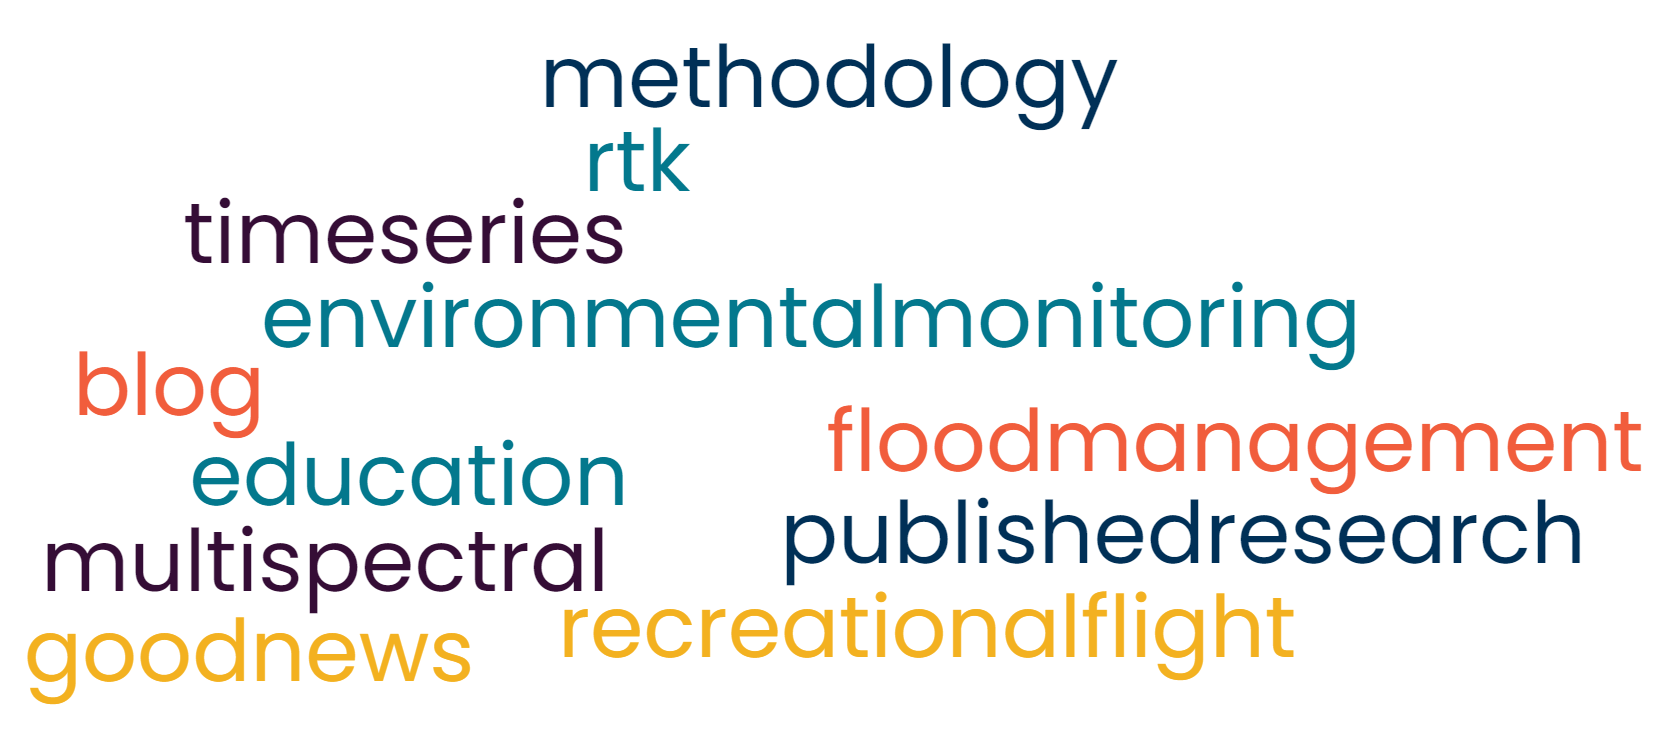
It can sometimes be tricky to figure out what tags to use. It can help to check out what people with similar datasets have been using to tag their images. Otherwise, check out the word cloud to the right for inspiration. What you choose to tag your dataset with is entirely up to you.
If you think your dataset tells an important story, consider adding a ‘blog’ tag. That way we can easily find your dataset to tell your story on the Stories from Above Blog.
What about categories?
Categories are basically pre-set tags. They offer a quick way to filter the many datasets on the platform to those that are interesting or relevant to you. When you choose the category for your dataset, try to not only include the first category that pops to mind (e.g. agriculture), but also consider any other categories that might be relevant to your collection (e.g. weeds, erosion).
Adding those extra categories can help make your dataset more visible to other users who might be from other disciplines or who have a different research focus to you. That being said, don’t add too many categories. Otherwise you’ll just end up clogging up the search results with datasets that aren’t relevant to people’s searches.
Making your datasets useable
So people are finding your super awesome dataset? Great! But do they have enough information to actually use it?
It’s easy to forget sometimes that just because you know what you’re looking at in your dataset doesn’t mean that others will know too. A good description with informative metadata is key to making sure that other people on the platform can understand, learn from, and use your dataset.
What should go in the description?
In many ways the description is the most important piece of information to fill out when you’re uploading a dataset. Without it, your dataset is basically just a pretty picture.
It doesn’t have to be long. Even a few words can help someone else understand a lot more about your dataset. As a good rule, your description should include any key information someone would need to know to use your dataset (minus the info available in the automatically generated metadata).
Some good information to include in the description includes:
Why you flew the mapping mission
Any key features in the images
What you learned from it
Environmental conditions at time of capture
Flight altitude
Links to any published research that used the data
Any issues with the flight or dataset that need to be accounted for
Other dataset information
That covers the basics of the important bits of information you should try and provide when you’re uploading a dataset. You will notice when you upload a dataset that there are a couple more boxes of information that you can fill out. Here’s a rundown of what you can put in those boxes.
Sometimes, the person who is uploading the data isn’t the person who actually flew the drone and captured the data. This box is a space where you can credit the people who actually collected the data.
This is optional and fairly self-explanatory. Are you working for a specific organisation or institution? This information can help give people more context for the work you’ve done, and help them get in contact with you if they want to learn more about your work.
Again, this is optional, but a good way to acknowledge those who made collecting the dataset possible. It might be supervisors, fellow data collectors or organisations that have granted funding or support. It’s good to spread gratitude and acknowledge the work of others!
Get uploading!
So armed with this knowledge, why not put it into practice and upload a dataset to GeoNadir? All you have to do is upload the raw images, and we’ll create an orthomosaic. You’ll be helping contribute to making drone data FAIR for everyone, plus you get free, secure storage for your drone data!
Don’t have any data to upload yet? Check out our free training modules to get started with drone mapping, or have a look at some of the awesome datasets already on the platform.